Crop Settings Corn and Soybean Settings for Flagship 50, 40, 30, 20, 10 Series Axial Flows (Traditional Suggested Settings) Here are some suggested that we have used in North America. This
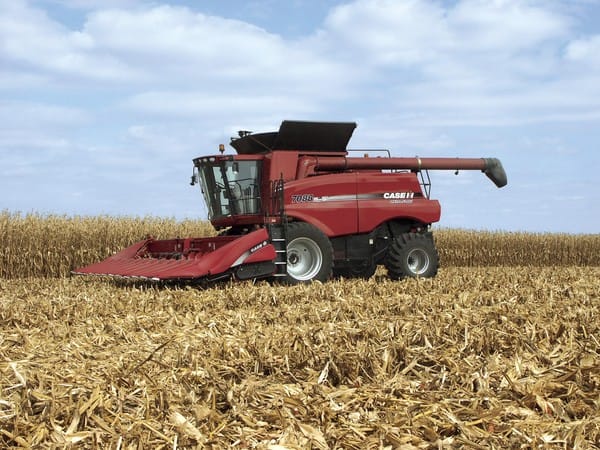
Crop Settings Corn Settings for Flagship 50, 40, 30, 20, 10 Series Axial Flows (update using Round Bars) Suggested Corn settings for Flagship RB = Round Bar Concaves: Left hand side
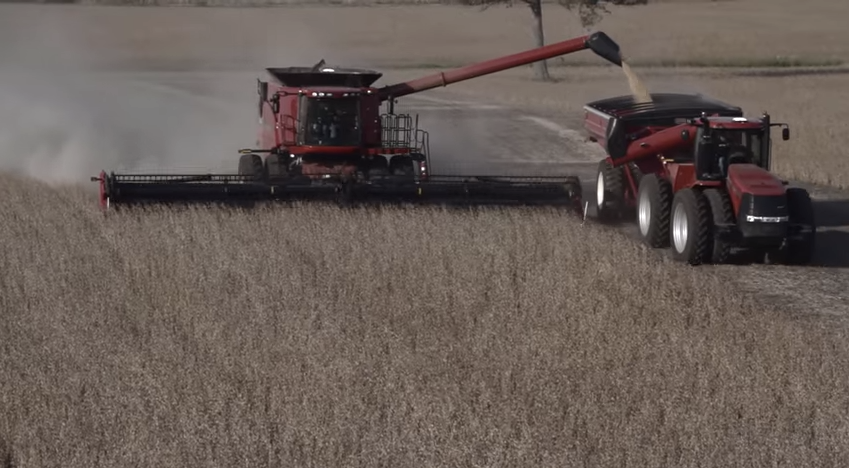
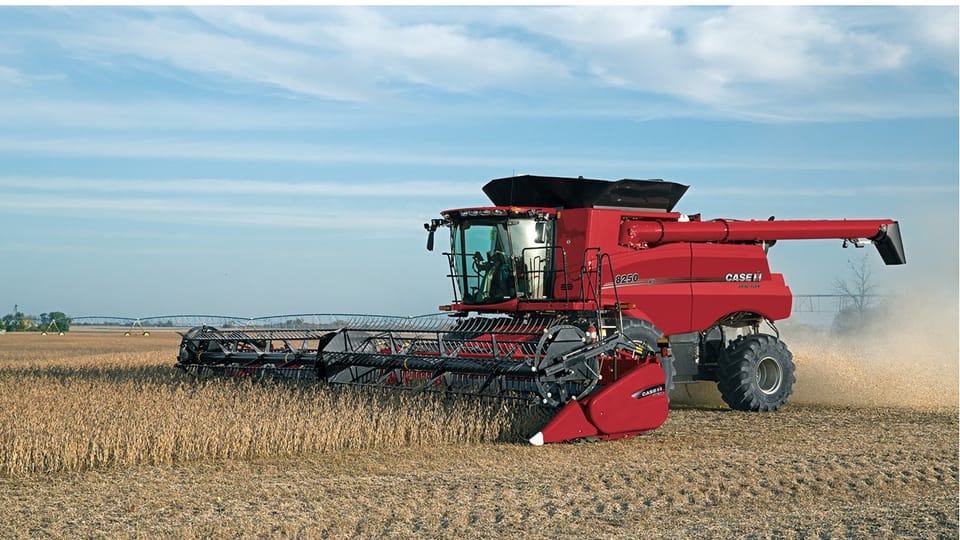
Crop Settings Soybean Suggested Settings for Flagship 50, 40, 30, 20, 10 Series Axial Flows (update using RB and some automation notes) Suggested Soybean settings for Flagship RB = Round Bar Concaves: Large wire modules
Crop Settings Corn/Soybean Suggested Settings for Midrange Combines-88, 130, 140, 150, and Legacy Combines (Suggested Settings) Below are some Corn and Soybean suggested starting settings for 88, 130,
Crop Settings Wet Corn Settings for Flagship 50, 40, 30, 20, 10 Series Axial Flows Combines Here are some suggested that we have used in N.A. This
Crop Settings Updated Initial Normal Wheat Settings for Flagship 50 Series, 40 Series, 30 Series 20 Series and 10 Series Axial Flows Normal Wheat Settings Concaves: Small Wire modules in concave area. Two on
Crop Settings Normal Wheat Settings for Flagship 50, 40, 30, 20, 10 Series Axial Flows Initial Normal Wheat Settings for Flagship 50, 40, 30, 20, 10 Series
Crop Settings Canola Settings for Flagship 50, 40, 30, 20, 10 Series Axial Flows Here are some suggested that we have used in N.A. This
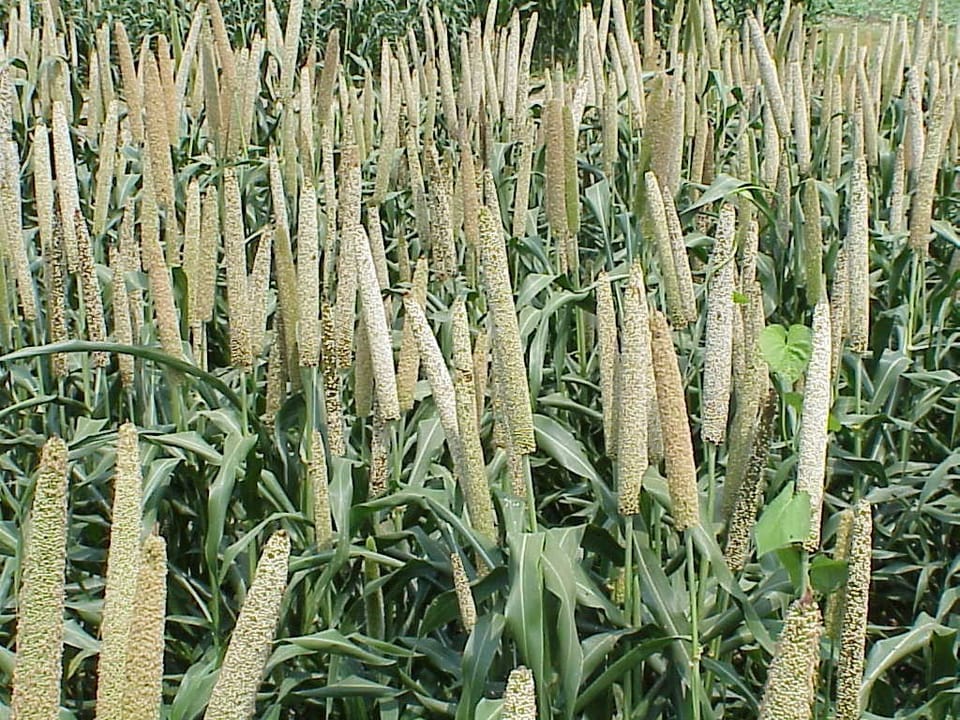
Crop Settings Millet Settings for Flagship 50, 40, 30, 20, 10 Series Axial Flows Suggested Starting Settings for Millet 50, 40, 30, 20, 10 Series Axial
Crop Settings Barley – Suggested crop setting for Flagship 50, 40, 30, 20, and 10 series Axial Flow. Suggested initial Crop Settings Concaves: Use Large Wire Concaves. If additional threshing
Crop Settings Hard Thresh Wheat Settings for Flagship 50, 40, 30, 20, and 10 Series Axial Flows Such as hard thresh springs wheats in Dakotas, Montana, and Canada. Here